

So here goes:
First off, you will need to mix up a pot of Metallic Green. What I did was get 1 pot of Chainmail Metal 1 pot of Scorpion Green and 1 pot of Camo Green. You will also need 2 empty paint pots.
Fill one empty pot half way with Scorpion Green. Then fill the same pot a quarter of the way with Camo Green. This should fill it to about 3/4ths.
Now pour the Chainmail Metal into the other empty pot half way. Now take your mixed green and pour that into the Chainmail Metal pot, filling it the other half. Shake for 10 or so minutes or just stir it for 5 or so and that's it.
You've now got a container full of Metallic Green.
Now that you have your Metallic Green, lets get to painting a marine.
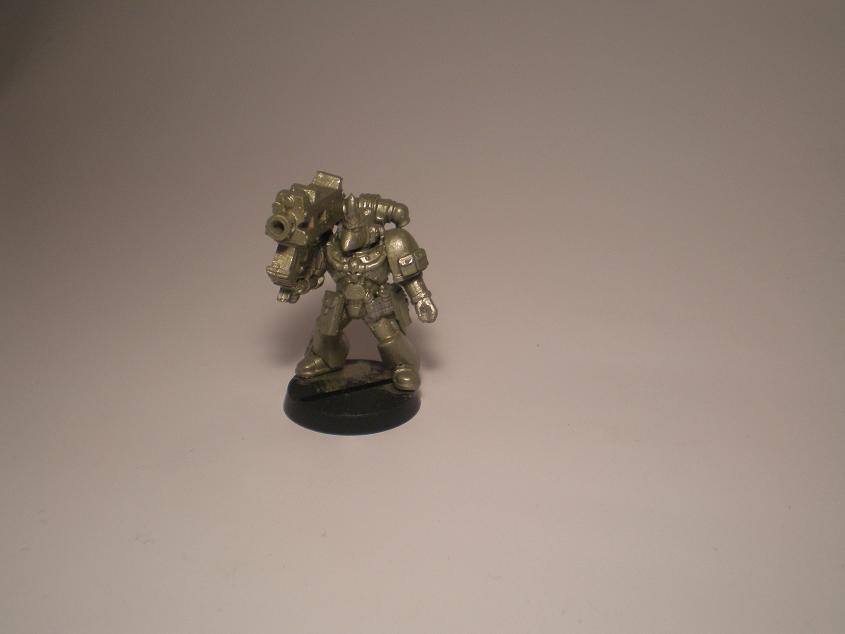
Step 1 - I first undercoated the model with black primer. You can use white as well. I then base coated the marine twice with a light brushing of the Metallic Green. I try to get it all over while not coming out thick and hiding details.

Step 2 - I used Adeptus Battlegrey for all the armor trim, knee pads and weapon casing. Its ok to be sloppy at this stage and get some on the green. It will be touched up later.

Step 3 - I then come in with Dwarf Bronze for all the golds bits such as for the weapons, armor skulls and other things. I try to keep it tidy and not get it on the grey.
Step 4 - After the bronze I use Chainmail Metal for backpack vents, armor joints and metal on the weapons. I also paint the hoses and cables the same.
Step 5 - Once that's done I then come in with Bleached Bone for all the impurity seals, skulls, horns and anything else that should be bone colored.

Step 6 - Blood red is used for the seals on the impurity seals, krak grenades and for weapon and some helmet lenses.
Step 7 - I then follow that up with Camo Green used for any frag grenades and then a mix of Scorching Brown and Bleached Bone for the pouches. Bestial Brown would also work.

Step 8 - After all that is when I finally base coat the helmet the color it needs to be.
Step 9 - Skin and anything else is then painted. For skin I use Elf Flesh then continue on the steps below.

Step 10 - Before the first wash, I come in with the Metallic green we made earlier and touch up any and all mistakes that went onto the armor.

Step 11 - A medium wash of Devlan Mud over the entire model. Pooling is ok on the green.
Step 12 - Once the wash is dry, I then begin highlighting the green armor. I do 2 layers of the Metallic Green over all the raised areas like a normal highlight. Avoid mistakes.
Step 13 - Once that's done, I come in again with Dwarf Bronze and Highlight the gold. Then once that's dry and do a fine edge highlight with Shining Gold.
Step 14 - I then highlight all the impurity seals and boned parts with a fine single highlight of Bleached Bone.
Step 15 - I follow that with a light highlight with Chainmail Metal over all the metal parts.
Step 16 - Finally I use a fine detail brush and "ink line" anything the wash failed to get with Devlan Mud.


And that's it! You've now painted yourself a Sons of Horus.
Anyway possible to get a close up shot of this guy?
ReplyDeleteClick the pictures for a larger version :)
ReplyDeleteAwesome tutorial, man
ReplyDeleteI need more empty paint pots
ReplyDelete